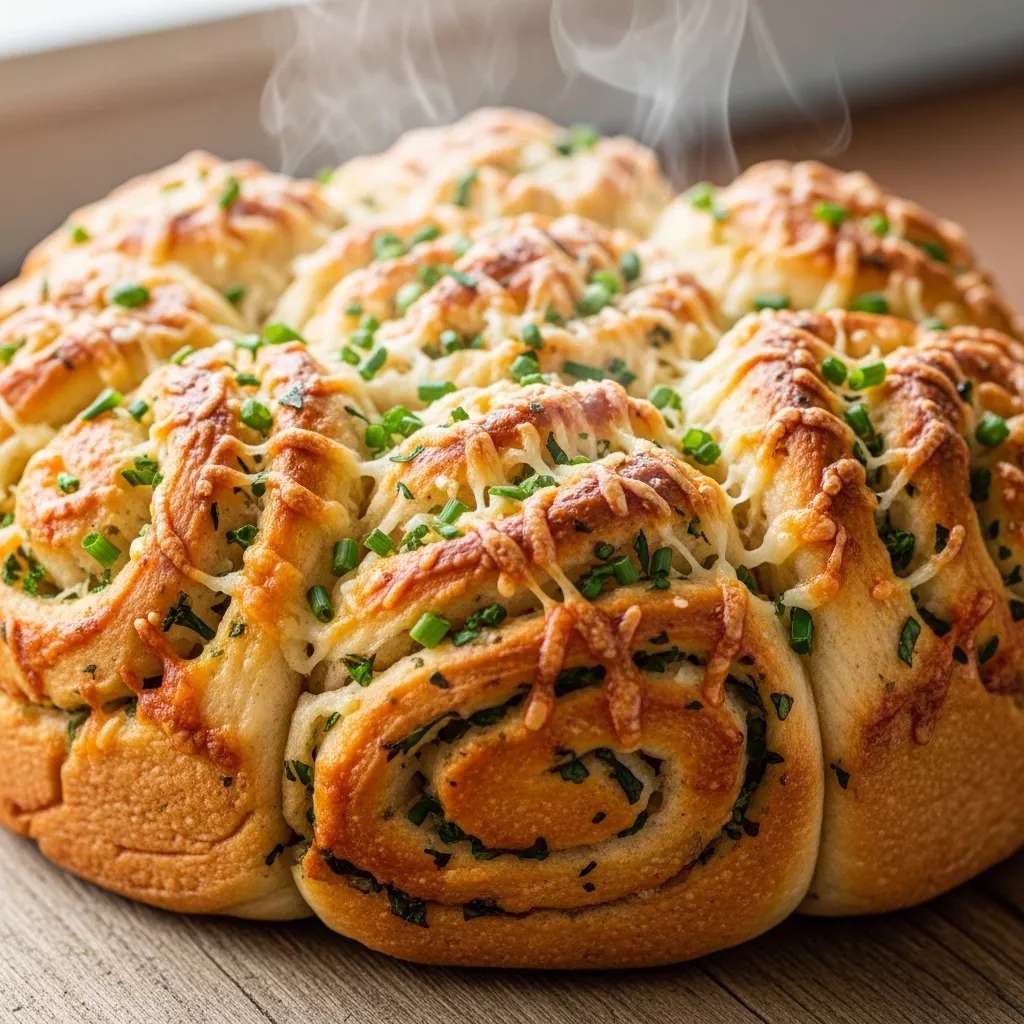
Imagine the aroma wafting through your kitchen – warm, soft, and utterly irresistible bread, bursting with savory garlic, fragrant herbs, and gooey melted cheese. This incredible recipe simplifies the art of bread-making by using just one bowl, making it perfect for both seasoned bakers and complete novices. Forget complicated steps; just mix, rise, fill, swirl, and bake your way to a show-stopping loaf. This is the magic of our one-bowl cheesy garlic herb swirl bread – a culinary hug in bread form, promising a delightful experience with every pull-apart bite.
Why You’ll Love This Effortless One-Bowl Cheesy Garlic Herb Swirl Bread
There’s a special kind of joy that comes from baking bread, and this recipe delivers it without the usual fuss. You’ll fall in love with this one-bowl cheesy garlic herb swirl bread for several compelling reasons:
- Uncomplicated Brilliance: True to its name, the dough comes together in a single bowl, drastically cutting down on cleanup and making the process incredibly streamlined.
- Sensory Delight: From the moment the garlic and herbs hit the melted butter to the golden-brown crust emerging from the oven, this bread engages all your senses. The aroma alone is enough to draw a crowd.
- Irresistible Texture: Expect a perfectly soft, fluffy interior complemented by a slightly chewy crust, with pockets of melted cheese and bursts of fresh herbs in every pull-apart piece.
- Show-Stopping Appeal: The beautiful swirl pattern and golden finish make this bread a magnificent centerpiece, perfect for elevating any meal or gathering.
- Versatile Comfort: Whether served as a hearty appetizer, a comforting side to your favorite soup or pasta, or simply enjoyed on its own, this bread is pure comfort food.
Ingredients & Substitutions
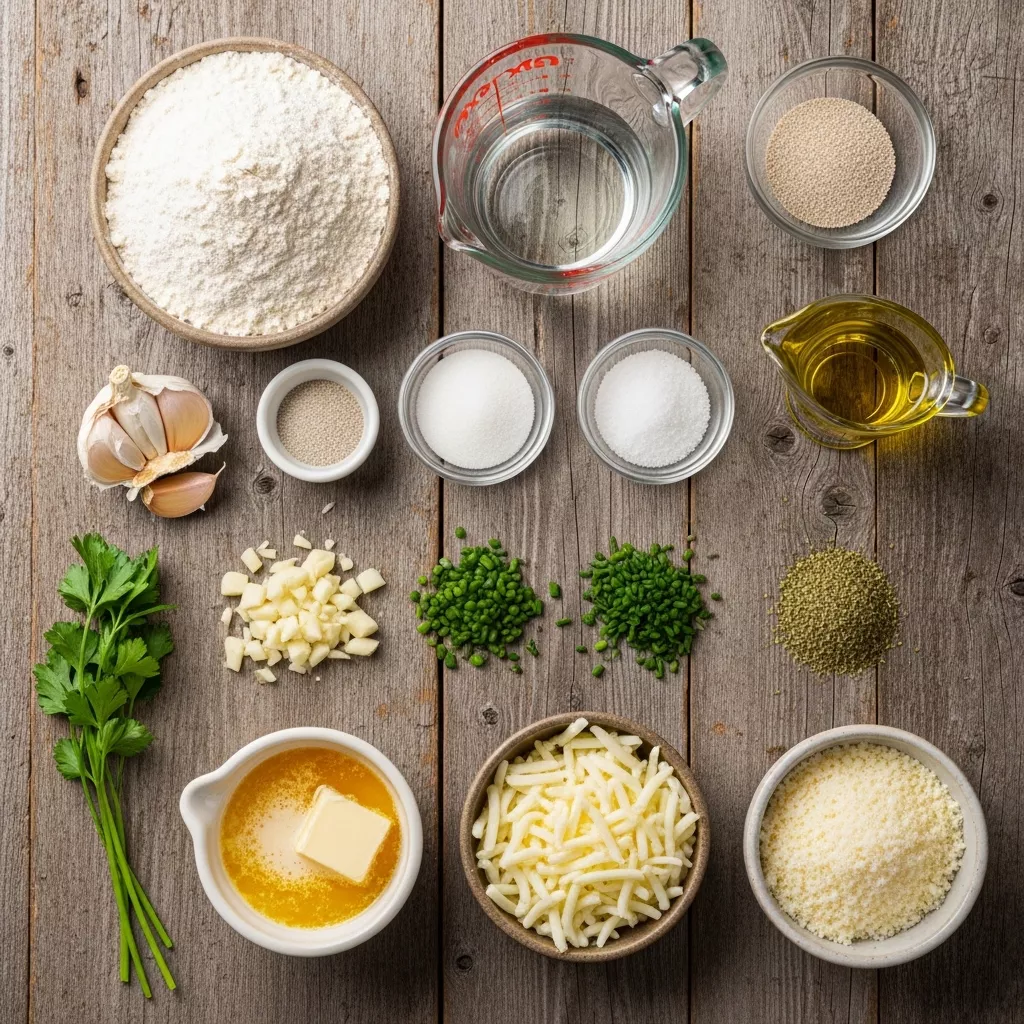
Crafting this flavorful bread requires a few simple ingredients, easily found in any pantry. Here’s a closer look at what you’ll need and some helpful substitution ideas:
- All-Purpose Flour: The foundation of our dough. While all-purpose works beautifully, you could use bread flour for a chewier texture.
- Instant Yeast: Our leavening agent. Instant yeast is fantastic because it doesn’t require prior proofing. If using active dry yeast, proof it in the warm water and sugar for 10 minutes until foamy before adding other ingredients.
- Granulated Sugar: Feeds the yeast and contributes to a tender crumb and golden crust.
- Fine Sea Salt: Essential for flavor and to regulate yeast activity.
- Warm Water: Crucial for activating the yeast. Ensure it’s between 105-115°F (40-46°C) – too cold and the yeast won’t activate; too hot and it will kill the yeast.
- Olive Oil: Adds richness to the dough and helps with a tender texture.
- Unsalted Butter: Forms the base of our incredibly aromatic filling. Use unsalted to control the overall sodium.
- Fresh Garlic, Parsley, and Chives: These fresh ingredients are key to the vibrant flavor. Don’t skimp! If fresh herbs aren’t available, you can use dried, but reduce the quantity (e.g., 1 tablespoon dried parsley, 1 teaspoon dried chives).
- Dried Oregano: Adds a warm, earthy note to the herb blend.
- Shredded Mozzarella & Grated Parmesan Cheese: The dynamic duo for gooey texture and savory depth. Feel free to experiment with other cheeses like provolone, Gruyere, or a sharp white cheddar for a different flavor profile.
How to Make Effortless One-Bowl Cheesy Garlic Herb Swirl Bread
Get ready to create some culinary magic! Here’s a step-by-step guide to achieving bread perfection:
- Activate the Yeast: In your largest mixing bowl, combine the warm water, olive oil, instant yeast, and sugar. Give it a gentle whisk and let it sit for 5 minutes. You should see a slight foam or bubbles, indicating your yeast is active and ready to work.
- Form the Dough: Add the flour and salt directly to the wet ingredients in the same bowl. Mix with a sturdy spoon or spatula until a shaggy dough forms. Turn it out onto a lightly floured surface and knead for 5-7 minutes until it becomes smooth and elastic. If you have a stand mixer, use the dough hook for 3-4 minutes.
- First Rise: Lightly grease the same bowl with a little olive oil, then place the dough back in, turning to coat. Cover the bowl with plastic wrap or a clean kitchen towel and let it rise in a warm, draft-free place for 60-90 minutes, or until it has visibly doubled in size.
- Prepare the Filling: While your dough is rising, melt the butter in a small bowl. Stir in the minced garlic, fresh parsley, fresh chives, dried oregano, shredded mozzarella, and grated Parmesan. Combine thoroughly.
- Roll and Fill: Once the dough has doubled, gently punch it down to release the air. Turn it out onto a lightly floured surface and, using a rolling pin, roll it into a large rectangle, approximately 18×12 inches (45×30 cm). Evenly spread the cheesy garlic herb filling over the entire surface, leaving a small ½-inch border on one of the longer sides.
- Swirl It Up: Starting from the long side opposite the border, carefully roll the dough into a tight log. Pinch the seam closed to seal it securely.
- Slice and Arrange: Using a sharp knife or bench scraper, slice the log into 12 equal pieces, about 1 ½ inches thick. Arrange these slices, cut-side up, in a lightly greased 9-inch round baking pan or an 8×8 inch square pan, leaving a little space between them to allow for the second rise.
- Second Rise: Cover the pan loosely with plastic wrap or a clean towel and let the bread rise again in a warm place for another 20-30 minutes, or until visibly puffy.
- Bake to Perfection: Preheat your oven to 375°F (190°C). Bake the bread for 28-32 minutes, or until it’s beautifully golden brown on top and cooked through. If the top starts to brown too quickly, you can loosely tent it with foil.
- Serve Warm: Remove from the oven and let cool in the pan for 10 minutes before carefully transferring to a wire rack. Serve warm and watch it disappear!
Tips for Success
- Water Temperature is Key: For yeast activation, ensure your water is warm to the touch, but not hot. Too hot will kill the yeast, too cold won’t activate it. A thermometer is your best friend here.
- Don’t Rush the Kneading: Kneading develops the gluten, which gives your bread its structure and chewiness. A smooth, elastic dough is a sign of well-developed gluten.
- Warm, Draft-Free Rise: Yeast loves warmth. A slightly warm oven (turned off, with the light on) or a sunny spot on your counter are great places for your dough to rise effectively.
- Roll Evenly: A consistent rectangle and even spread of filling ensure each slice gets a good distribution of flavor and a beautiful swirl.
- Roll Tightly: A tight log creates defined swirls. Don’t be afraid to roll it firmly.
- Golden Crust: For an extra golden crust, brush the top with a little melted butter or an egg wash (1 egg whisked with 1 tablespoon water) before baking.
Serving Suggestions
This one-bowl cheesy garlic herb swirl bread is incredibly versatile and pairs beautifully with a variety of dishes. Serve it warm, allowing guests to pull apart the individual swirls:
- Alongside Italian Mains: It’s the perfect companion to classic pasta dishes, rich lasagna, or a hearty spaghetti and meatballs.
- With Soups & Stews: Its robust flavor and soft texture make it ideal for dipping into a comforting tomato soup, a savory beef stew, or a creamy potato chowder.
- As an Appetizer: Offer it as a sophisticated starter, perhaps with a side of warm marinara sauce, olive oil and balsamic vinegar, or a creamy garlic aioli for dipping. For another delightful appetizer, consider trying these Crispy Pickle Cheese Bites Snack.
- Brunch or Breakfast: While savory, it can be a delicious addition to a brunch spread, especially alongside egg dishes.
- Simple Snacking: Honestly, it’s so good you might find yourself just pulling off pieces and enjoying it all on its own!
Storage & Reheating
While this bread is best enjoyed warm and fresh from the oven, you can certainly store leftovers:
- Room Temperature: Store any leftover bread in an airtight container at room temperature for up to 2 days.
- Freezing: For longer storage, wrap individual slices or the entire loaf tightly in plastic wrap, then aluminum foil, and freeze for up to 2-3 months.
- Reheating: To bring it back to life, wrap it loosely in foil and reheat in a preheated oven at 300°F (150°C) for 10-15 minutes, or until warmed through. If reheating from frozen, increase the time. You can also quickly warm individual slices in a toaster oven.
FAQ
Can I prepare the dough ahead of time?
Yes, you can! After the first rise, punch down the dough, cover it tightly with plastic wrap, and refrigerate for up to 24 hours. Let it come to room temperature for about 30 minutes before rolling, filling, and proceeding with the recipe.
What if my bread isn’t rising?
The most common culprit is inactive yeast. Ensure your water temperature is correct (105-115°F / 40-46°C) and that your yeast packet isn’t expired. A warm, draft-free environment is also crucial for successful rising.
Can I add other spices to the filling?
Absolutely! Feel free to customize. A pinch of red pepper flakes for a subtle kick, or a dash of onion powder could be delicious additions.
My bread browned too quickly on top. What went wrong?
Oven temperatures can vary. If you notice the top browning excessively before the bread is cooked through, simply tent it loosely with aluminum foil for the remainder of the baking time.
There’s nothing quite like the satisfaction of pulling apart a warm, fragrant loaf of homemade bread, especially when it’s as simple and delicious as this. This one-bowl cheesy garlic herb swirl bread is a testament to the idea that incredible flavor doesn’t have to come with complicated steps. It’s comforting, it’s beautiful, and it’s destined to become a staple in your kitchen. So roll up your sleeves, embrace the simplicity, and prepare to delight your taste buds with this truly effortless culinary creation. For more savory and satisfying meal ideas, you might also enjoy exploring these Low-Carb Cheesy Garlic Chicken Wraps.

Effortless One-Bowl Cheesy Garlic Herb Swirl Bread
Imagine the aroma wafting through your kitchen – warm, soft, and utterly irresistible bread, bursting with savory garlic, fragrant herbs, and gooey melted cheese. This incredible recipe simplifies the art of bread-making by using just one bowl, making it perfect for both seasoned bakers and complete novices. Forget complicated steps; just mix, rise, fill, swirl, and bake your way to a show-stopping loaf that’s ideal for sharing, dipping, or simply savoring on its own. It’s a culinary hug in bread form, promising a delightful experience with every pull-apart bite.
- Total Time: 48 minutes
- Yield: 8 generous slices 1x
Ingredients
- 2 ½ cups (300g) all-purpose flour, plus more for dusting
- 1 packet (2 ¼ teaspoons) instant yeast
- 1 teaspoon granulated sugar
- 1 teaspoon fine sea salt
- 1 cup warm water (105-115°F / 40-46°C)
- 2 tablespoons olive oil, plus more for greasing
- 4 tablespoons unsalted butter, melted
- 4 cloves garlic, minced
- ¼ cup fresh parsley, finely chopped
- 2 tablespoons fresh chives, finely chopped
- 1 teaspoon dried oregano
- 1 cup shredded mozzarella cheese
- ½ cup grated Parmesan cheese
Instructions
- In your largest mixing bowl, whisk together the warm water, olive oil, instant yeast, and sugar. Let it sit for 5 minutes to ensure the yeast is active.
- Add the flour and salt to the wet ingredients in the same bowl. Mix with a sturdy spoon or spatula until a shaggy dough forms. Turn the dough out onto a lightly floured surface and knead for 5-7 minutes until smooth and elastic. Alternatively, use a stand mixer with a dough hook for 3-4 minutes.
- Lightly grease the same bowl with a little olive oil. Place the dough back in, turning to coat. Cover the bowl with plastic wrap or a clean kitchen towel and let it rise in a warm, draft-free place for 60-90 minutes, or until doubled in size.
- While the dough rises, prepare the aromatic filling. In a small bowl, combine the melted butter, minced garlic, fresh parsley, fresh chives, dried oregano, shredded mozzarella, and grated Parmesan cheeses. Stir until well combined.
- Once the dough has doubled, gently punch it down and turn it out onto a lightly floured surface. Using a rolling pin, roll the dough into a large rectangle, approximately 18×12 inches (45×30 cm).
- Evenly spread the cheesy garlic herb filling over the entire surface of the dough, leaving a small border (about ½ inch) on one of the longer sides.
- Starting from the long side opposite the border, carefully roll the dough into a tight log. Pinch the seam closed to seal.
- Using a sharp knife or bench scraper, slice the log into 12 equal pieces, approximately 1 ½ inches thick. Arrange the slices, cut-side up, in a lightly greased 9-inch round baking pan or an 8×8 inch square pan, leaving a little space between them.
- Cover the pan loosely with plastic wrap or a clean towel and let the bread rise again in a warm place for another 20-30 minutes, or until visibly puffy.
- Preheat your oven to 375°F (190°C). Bake the bread for 28-32 minutes, or until golden brown on top and cooked through. If the top browns too quickly, you can loosely tent it with foil.
- Remove from the oven and let cool in the pan for 10 minutes before carefully transferring to a wire rack. Serve warm and watch it disappear!
Notes
For an extra golden crust, brush the top with a little melted butter or an egg wash before baking. Don’t rush the rising process – a warm, draft-free spot is key for fluffy bread. This bread is fantastic warm, served alongside pasta, soups, or as an appetizer with your favorite dipping sauce. Leftovers (if any!) can be stored in an airtight container at room temperature for up to 2 days or frozen for longer.
- Prep Time: 20 minutes
- Cook Time: 28 minutes
- Category: Appetizer / Side Dish
- Method: Baking
- Cuisine: Modern Comfort / European-inspired
Nutrition
- Serving Size: 1 slice (1/8 of loaf)
- Calories: 300
- Sugar: 3g
- Sodium: 300mg
- Fat: 18g
- Saturated Fat: 10g
- Unsaturated Fat: 7g
- Trans Fat: 0g
- Carbohydrates: 30g
- Fiber: 2g
- Protein: 10g
- Cholesterol: 40mg