I can still picture my grandmother’s kitchen, filled with the warm, sweet scent of baking cherries. Every Christmas, she would make a batch of these ruby red cherry bars, and they would disappear faster than she could make them. The slightly tangy filling and buttery crust were a perfect combination, and they always brought a smile to everyone’s face.
These bars weren’t just a dessert; they were a symbol of family, love, and the joy of the holiday season. Sharing these ruby red cherry bars always brings back those cherished memories of togetherness and warmth. Just thinking about them makes me want to bake a batch right now!
It reminds me a bit of another recipe I love, a savory one this time, that also brings back happy memories. Just as these bars fill my heart, a flavorful lemon honey chicken recipe can fill my belly with comfort and joy.
Why you’ll love this Ruby Red Cherry Bars
- The combination of the buttery shortbread crust and the sweet and tangy cherry filling is simply irresistible.
- These ruby red cherry bars are incredibly easy to make, perfect for beginner bakers.
- They’re festive and colorful, making them a great addition to any holiday gathering or potluck.
- You can customize them by adding different nuts or using other pie fillings for a unique twist.
- The recipe is easily adaptable, so you can double or triple it to serve a larger crowd.
- These bars are a crowd-pleaser that everyone will love, guaranteed to disappear quickly.
Ingredients
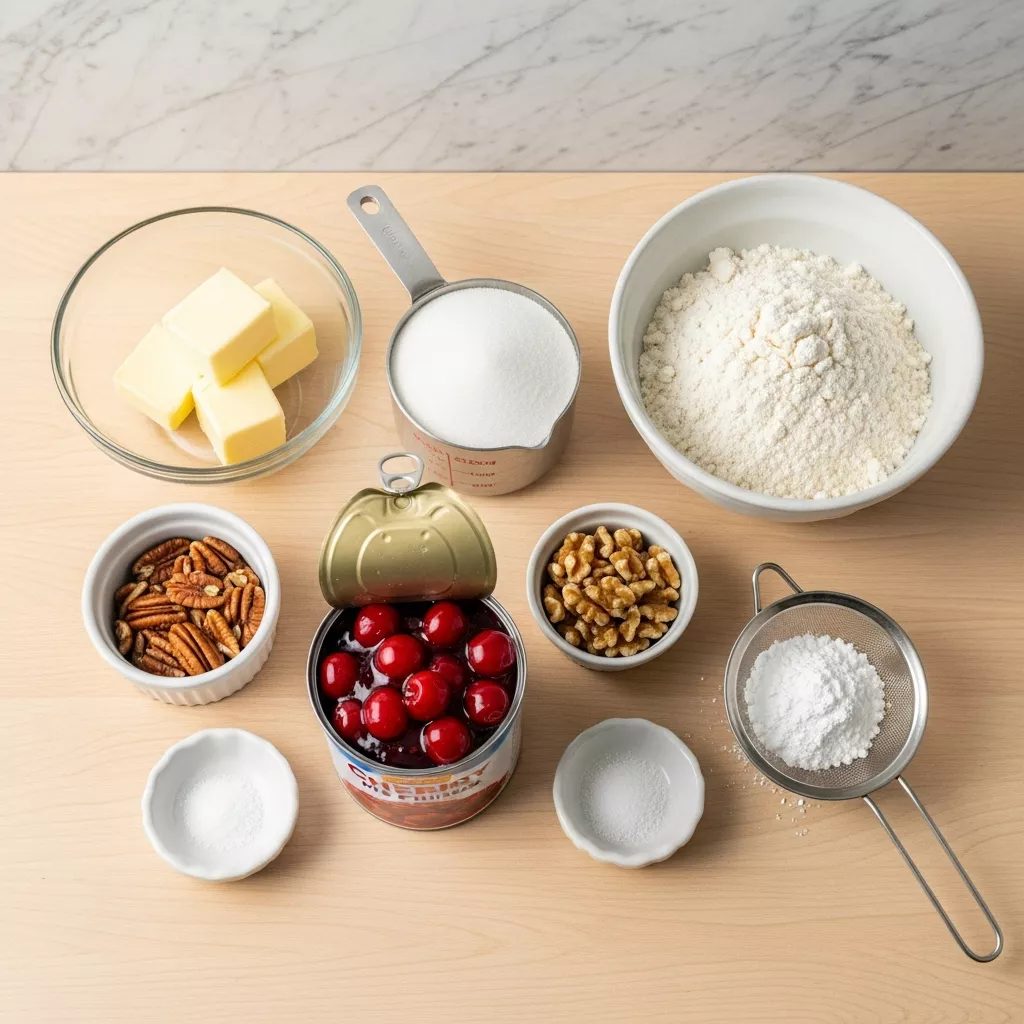
- 1 cup (2 sticks) unsalted butter, softened
- 1/2 cup granulated sugar
- 2 cups all-purpose flour
- 1/4 teaspoon salt
- 1 (21 ounce) can cherry pie filling
- 1/2 cup chopped pecans or walnuts (optional)
- 1/4 cup powdered sugar, for dusting
Directions
Step 1
Ruby red cherry bars makes every moment feel lush. Preheat oven to 350°F (175°C). Grease and flour a 9×13 inch baking pan. This will prevent the bars from sticking and make them easy to remove once cooled.
Step 2
In a large bowl, cream together the softened butter and granulated sugar until light and fluffy. This step is crucial for creating a tender and crumbly crust. Make sure your butter is truly softened to avoid lumps.
Step 3
Gradually add the flour and salt, mixing until just combined. The mixture will be crumbly. Be careful not to overmix, as this can result in a tough crust. A crumbly texture is exactly what we’re looking for!
Step 4
Press half of the crumb mixture into the prepared baking pan to form a crust. You can use your fingers or the bottom of a measuring cup to evenly distribute and flatten the mixture. Aim for a uniform thickness.
Step 5
Bake for 15 minutes, or until lightly golden. This pre-baking step helps to set the crust and prevent it from becoming soggy when the filling is added. Keep a close eye on it to prevent burning.
Step 6
Remove the crust from the oven and spread the cherry pie filling evenly over the baked crust. Make sure to cover the entire surface, leaving no gaps. A generous layer of cherry filling is key to the bar’s deliciousness.
Step 7
Sprinkle the remaining crumb mixture and chopped nuts (if using) over the cherry filling. This creates a beautiful and flavorful topping. Gently press the topping into the filling to help it adhere.
Step 8
Return to the oven and bake for 20 minutes, or until the topping is golden brown and the filling is bubbly. The filling should be nicely thickened and the topping should have a slightly crisp texture.
Step 9
Let the bars cool completely in the pan before cutting into squares. This is important because cutting them while they’re still warm can cause them to crumble. Patience is a virtue!
Step 10
Dust with powdered sugar before serving. This adds a touch of sweetness and visual appeal. A light dusting is all you need to elevate the presentation.
Variations, pairings, and serving ideas
Variations
Want to switch things up? Try using different pie fillings! Apple pie filling or blueberry pie filling would both be delicious alternatives to cherry. Each filling will create a unique flavor profile while maintaining the bar’s delicious texture.
For a richer flavor, consider using brown butter in the crust. Simply melt the butter in a saucepan and cook until it turns a golden brown color and has a nutty aroma. Allow it to cool slightly before using it in the recipe. You can also add a dash of almond extract to the crust for enhanced flavor.
If you’re not a fan of nuts, feel free to omit them altogether. Alternatively, you could try using different types of nuts, such as almonds or pistachios, for a different flavor and texture. Make sure to chop the nuts finely for even distribution.
Pairings
These ruby red cherry bars are delicious on their own, but they also pair well with a variety of other desserts and beverages. A scoop of vanilla ice cream or a dollop of whipped cream would be a perfect complement to the sweet and tangy filling. The cold creaminess contrasts beautifully with the warm bars.
For a more sophisticated pairing, try serving them with a glass of dessert grape juice, such as a light Moscato. The grape juice’s sweetness will enhance the cherry flavor and create a delightful sensory experience. A cup of freshly brewed coffee or tea is also a lovely accompaniment.
If you’re looking for a savory pairing, consider serving the bars after a light meal featuring roasted chicken and vegetables. The sweetness of the dessert will provide a nice contrast to the savory flavors of the main course. Looking for another good side to pair with your main course? Consider checking out this crack green beans recipe at Fork Haven for a savory and satisfying complement to your cherry bars. This combination offers a balanced and delightful culinary experience.
Serving ideas
For a simple and elegant presentation, arrange the ruby red cherry bars on a serving platter and dust generously with powdered sugar. You can also garnish them with fresh cherries or a sprig of mint for a pop of color. The visual appeal is almost as important as the taste!
To make them even more festive, consider cutting the bars into different shapes using cookie cutters. Stars, hearts, or even simple squares will add a touch of whimsy to your presentation. This is a great way to make them kid-friendly and appealing.
If you’re serving them at a party, consider setting up a dessert bar with a variety of toppings, such as chocolate shavings, chopped nuts, and whipped cream. This allows your guests to customize their own bars and create their own unique flavor combinations. A dessert bar is always a hit!
Storage and make-ahead tips
Storage
Cooled ruby red cherry bars can be stored in an airtight container at room temperature for up to 3 days. This is a great way to keep them fresh and prevent them from drying out. Be sure to let them cool completely before storing to avoid condensation.
For longer storage, you can refrigerate them for up to 5 days. This will help to preserve their texture and flavor. When refrigerating, make sure to use an airtight container to prevent them from absorbing any unwanted odors.
If you want to freeze them, wrap them individually in plastic wrap and then place them in a freezer-safe bag or container. They can be frozen for up to 2 months. Thaw them in the refrigerator overnight before serving. Freezing is a great way to have a sweet treat on hand whenever you need it.
Make-ahead
The crust for these ruby red cherry bars can be made ahead of time and stored in the refrigerator for up to 2 days. Simply prepare the crumb mixture as directed and press it into the baking pan. Cover tightly with plastic wrap and refrigerate until ready to use. This will save you time on the day you plan to bake the bars.
You can also assemble the entire bars ahead of time and store them in the refrigerator for up to 24 hours before baking. This is a great option if you’re short on time or want to prepare them for a future event. Just make sure to cover them tightly to prevent them from drying out.
Another make-ahead option is to bake the crust and then freeze it until you’re ready to add the filling and topping. This is a great way to break up the task into smaller steps. When you’re ready to bake, simply thaw the crust, add the filling and topping, and bake as directed.
Common mistakes when making Ruby Red Cherry Bars
- Overmixing the crust: Overmixing can develop the gluten in the flour, resulting in a tough crust. Mix only until just combined.
- Not pre-baking the crust: Pre-baking the crust helps to prevent it from becoming soggy when the filling is added. Don’t skip this step!
- Cutting the bars while they’re still warm: Cutting the bars while they’re warm can cause them to crumble. Let them cool completely before cutting.
- Using cold butter: Cold butter will not cream properly with the sugar, resulting in a dense and crumbly crust. Make sure your butter is softened to room temperature.
- Overbaking the bars: Overbaking can cause the crust to become dry and the filling to become too thick. Bake until the topping is golden brown and the filling is bubbly.
Final notes
These ruby red cherry bars are more than just a dessert; they’re a way to create memories and share joy with your loved ones. Whether you’re baking them for a holiday party or a simple weeknight treat, they’re sure to bring a smile to everyone’s face.
Don’t be afraid to experiment with different variations and toppings to create your own unique version of this classic recipe. And remember, the most important ingredient is love!
So go ahead, gather your ingredients, and get baking! You’ll be amazed at how easy and rewarding it is to create these delicious ruby red cherry bars.
Loved this Ruby Red Cherry Bars? Try these next
- Lemon honey chicken recipe
- Cherry coconut magic bars
- Slow cooker thai coconut chicken soup
- Cookie butter pie recipe

Ruby Red Cherry Bars
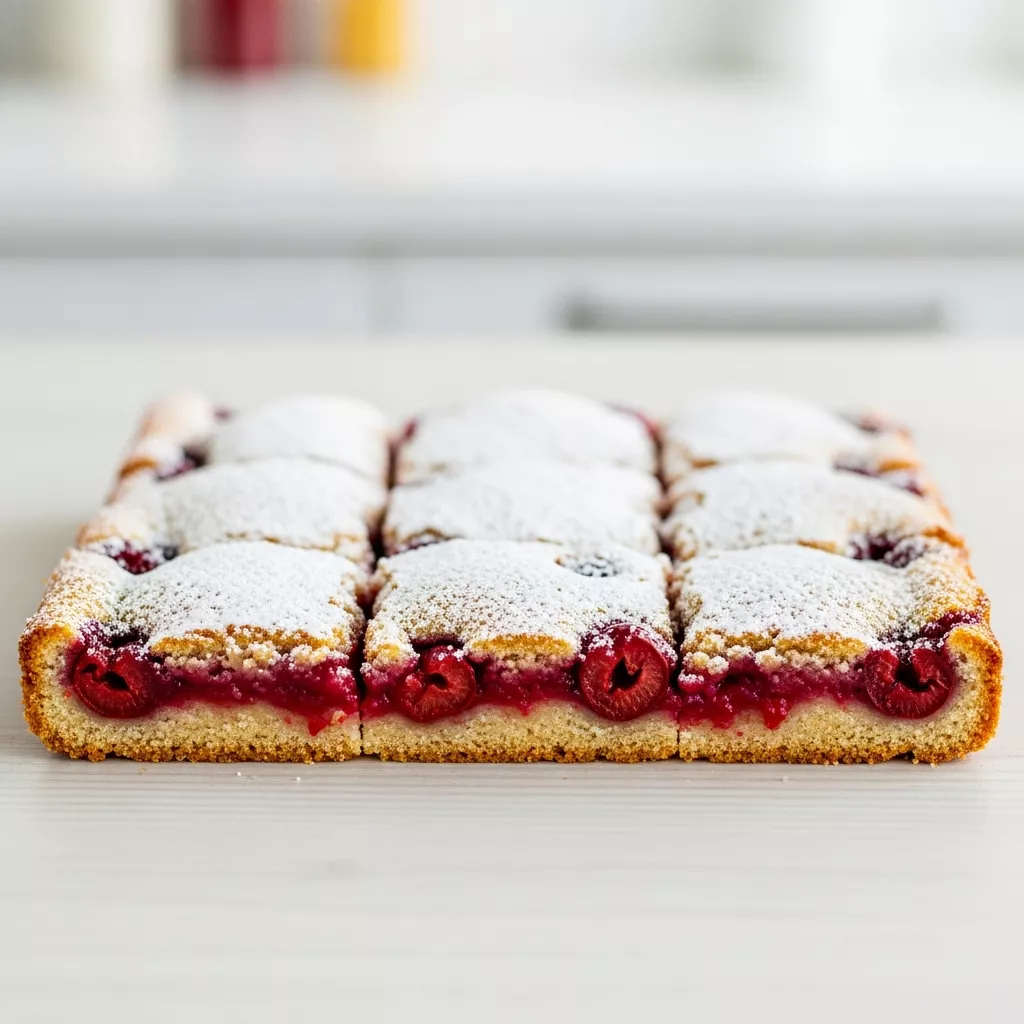
These festive Ruby Red Cherry Bars are a delightful treat that always disappears quickly at holiday parties. A buttery shortbread crust topped with a sweet and tangy cherry filling makes them irresistible.
- Total Time: 55 minutes
- Yield: 16 bars 1x
Ingredients
- 1 cup (2 sticks) unsalted butter, softened
- 1/2 cup granulated sugar
- 2 cups all-purpose flour
- 1/4 teaspoon salt
- 1 (21 ounce) can cherry pie filling
- 1/2 cup chopped pecans or walnuts (optional)
- 1/4 cup powdered sugar, for dusting
Instructions
- Preheat oven to 350°F (175°C). Grease and flour a 9×13 inch baking pan.
- In a large bowl, cream together the softened butter and granulated sugar until light and fluffy. Gradually add the flour and salt, mixing until just combined. The mixture will be crumbly.
- Press half of the crumb mixture into the prepared baking pan to form a crust. Bake for 15 minutes, or until lightly golden.
- Remove the crust from the oven and spread the cherry pie filling evenly over the baked crust. Sprinkle the remaining crumb mixture and chopped nuts (if using) over the cherry filling.
- Return to the oven and bake for 20 minutes, or until the topping is golden brown and the filling is bubbly.
- Let the bars cool completely in the pan before cutting into squares. Dust with powdered sugar before serving.
Notes
For a richer flavor, use brown butter in the crust. Store cooled cherry bars in an airtight container at room temperature for up to 3 days, or in the refrigerator for up to 5 days. You can substitute other pie fillings, like apple or blueberry, for a different flavor. Add a dash of almond extract to the crust for enhanced flavor.
Nutrition
- Serving Size: 1 bar
- Calories: 250
- Sugar: 25g
- Sodium: 100mg
- Fat: 12g
- Saturated Fat: 7g
- Unsaturated Fat: 4g
- Trans Fat: 0g
- Carbohydrates: 35g
- Fiber: 1g
- Protein: 2g
- Cholesterol: 30mg