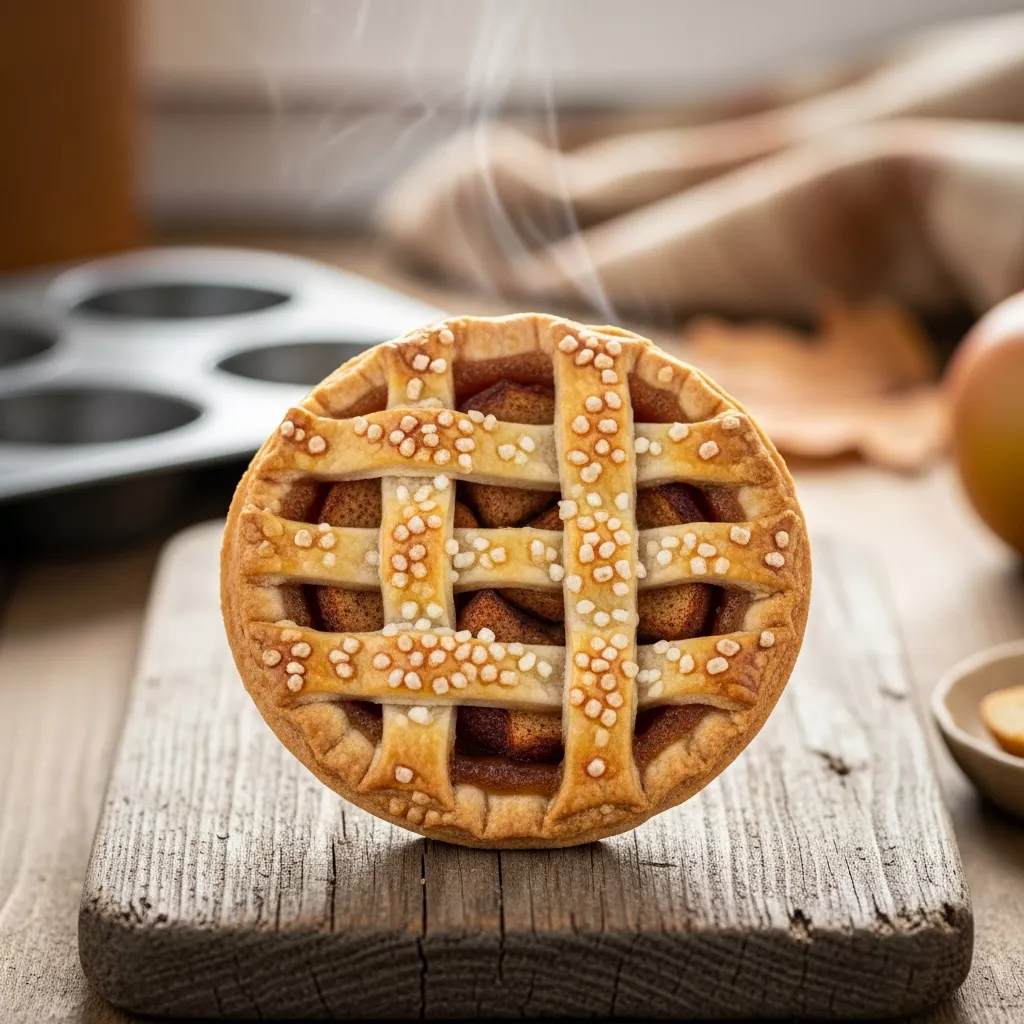
There is something undeniably magical about pulling a tray of golden mini apple pies out of the oven on a crisp autumn afternoon. These tiny treats capture everything I love about the harvest season in just two or three perfect bites.
I remember my grandmother struggling to slice a massive deep-dish pie for our huge family gatherings during the holidays. Half the time, the slices would fall apart before they even hit the dessert plates, leaving a messy but delicious pile of fruit and crust.
That specific memory of the serving chaos is exactly why I adore this recipe, almost as much as I love making cinnamon rock candy during the winter months. It brings that same spicy warmth and comfort to the kitchen without the fuss of serving a crowd.
These individual pies solve the serving problem entirely while increasing the best part of the dessert, which is the crust-to-filling ratio. Each person gets their own perfectly formed pastry, ensuring no one fights over the edge pieces.
Why you’ll love this Mini Apple Pies
- These handheld treats offer the perfect balance of flaky, buttery crust and tender fruit filling in every single bite.
- They are incredibly easy to serve at parties or potlucks since they require no slicing, plates, or messy serving spatulas.
- The baking time is significantly shorter than a standard whole pie, meaning you get to enjoy your dessert much faster.
- You can easily customize the sweetness or spices for individual pies if you have picky eaters in the family.
- This recipe for mini apple pies is a fantastic way to use up a surplus of orchard-picked apples without committing to a massive baking project.
- They freeze beautifully, allowing you to have a homemade dessert ready to go whenever a craving strikes.
Ingredients
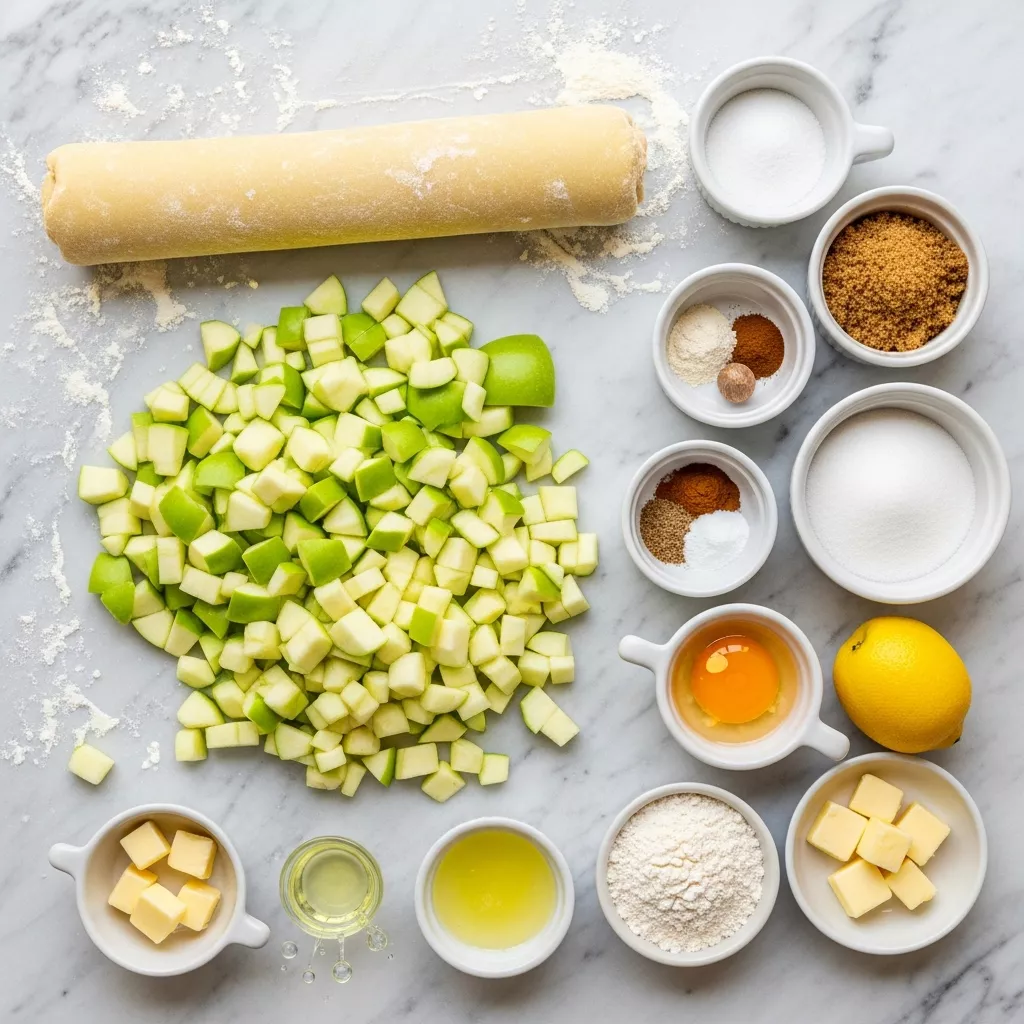
- 2 packages refrigerated rolled pie crusts (or homemade double crust dough)
- 3 cups Granny Smith apples, peeled, cored, and finely diced
- 1/3 cup granulated white sugar
- 2 tablespoons light brown sugar, packed
- 1 teaspoon ground cinnamon
- 1/4 teaspoon ground nutmeg
- 1 tablespoon fresh lemon juice
- 1 tablespoon all-purpose flour
- 1 tablespoon unsalted butter, cut into very small cubes
- 1 large egg (for egg wash)
- 1 tablespoon water
- Coarse sugar for sprinkling (optional)
Directions
Step 1
Mini apple pies makes every moment feel velvety. Start by preheating your oven to 400°F (200°C) to ensure it is nice and hot for the pastry. Lightly grease a standard 12-cup muffin tin with non-stick spray or a little butter to prevent sticking.
Step 2
Roll out your pie crusts on a clean, lightly floured surface to smooth out any creases. Using a 4-inch round cutter or a wide-mouth glass, cut out 12 circles from the dough.
Step 3
You will likely need to gather the scraps of dough and re-roll them gently to get all 12 circles. Be careful not to overwork the dough, as this can make the crust tough instead of flaky.
Step 4
Take each dough circle and gently press it into the muffin cups to form the bottom crust. Ensure the dough reaches up the sides of the cup without tearing or stretching too thin.
Step 5
In a medium mixing bowl, combine the finely diced Granny Smith apples with the granulated sugar and packed brown sugar. These two sugars create a lovely caramel-like sauce as they bake.
Step 6
Add the ground cinnamon, ground nutmeg, fresh lemon juice, and all-purpose flour to the bowl. The flour is crucial here as it helps thicken the juices so the bottom crust doesn’t get soggy.
Step 7
Toss everything together until the apple pieces are evenly coated in the sugar and spice mixture. The lemon juice will prevent the apples from browning while adding a bright zest to the flavor profile.
Step 8
Spoon the apple filling generously into each crust-lined muffin cup. You should pile them slightly high, mounding them in the center, because the fresh apples will shrink down significantly as they cook.
Step 9
Top each filled pie with a tiny cube of unsalted butter. This adds a rich, velvety texture to the filling as it melts down into the fruit during baking.
Step 10
Use the remaining pie crust dough to create the tops for your pies. You can cut slightly smaller circles with slits for venting, or cut thin strips to weave a cute mini lattice top.
Step 11
Place the tops over the filling and press the edges gently to seal the top crust to the bottom crust. You can use the tines of a fork to crimp the edges for a decorative touch.
Step 12
Whisk the egg and water together in a small bowl to create an egg wash. Lightly brush the tops of the pies with this mixture to promote a beautiful golden-brown color.
Step 13
Sprinkle coarse sugar over the egg-washed tops if you like. This adds a delightful crunch and a professional bakery-style finish to your homemade treats.
Step 14
Bake the pies for 20 to 25 minutes. You are looking for a crust that is golden brown and an apple filling that is bubbling hot.
Step 15
If you notice the edges of the crust browning too quickly before the center is done, cover the tin loosely with a sheet of aluminum foil. This protects the delicate edges while the rest continues to bake.
Step 16
Once baked, remove the tin from the oven and allow the pies to cool in the pan for at least 10 to 15 minutes. This cooling period is essential to let the filling set so they don’t fall apart when moved.
Step 17
Carefully remove the pies from the muffin tin and transfer them to a wire rack to cool completely. Enjoy them warm or at room temperature.
Variations, pairings, and serving ideas
Variations
While the classic double-crust version is timeless, you can easily switch things up by using a crumb topping. Simply mix flour, brown sugar, and cold butter until crumbly, then sprinkle it over the apples before baking for a “Dutch” style mini pie.
For a different fruit flavor profile, try mixing in a handful of fresh cranberries or diced pears with the apples. The tartness of cranberries pairs wonderfully with the sweet cinnamon spices and adds a festive pop of red color.
If you love a salted caramel twist, try drizzling a little caramel sauce inside the pie before adding the top crust. Just be careful not to add too much, or it might bubble over during the baking process.
Pairings
Nothing complements warm spiced apples quite like a scoop of high-quality vanilla bean ice cream. The contrast between the hot, flaky pastry and the cold, melting cream is the ultimate comfort food experience.
For a cozy afternoon snack, serve these pies alongside a hot cup of coffee or a spiced chai latte. The warm spices in the drink will echo the cinnamon and nutmeg in the pie filling beautifully.
If you prefer a lighter accompaniment, a dollop of freshly whipped cream is perfect. You can even infuse the whipped cream with a tiny pinch of cinnamon or maple syrup for an extra layer of autumn flavor.
Serving ideas
These mini pies look adorable when arranged on a tiered dessert stand for a holiday party or buffet. The height of the display draws the eye and makes them look like elegant pastries from a boutique bakery.
For a rustic presentation, serve them individually in small ramekins or on small wooden boards. Dusting them with a light coating of powdered sugar right before serving adds a snowy, wintery touch.
They also make fantastic edible gifts for friends and neighbors during the holiday season. Place a cooled pie in a small clear box tied with a ribbon for a thoughtful and delicious homemade present.
Storage and make-ahead tips
Storage
If you happen to have leftovers, store them in an airtight container at room temperature for up to two days. The crust stays flakiest when kept out of the refrigerator, provided your kitchen isn’t too hot or humid.
For longer storage, you can keep them in the refrigerator for up to four or five days. However, be aware that the moisture from the apples may soften the crust slightly over time.
To reheat, place the pies on a baking sheet and warm them in a 350°F oven for about 5 to 10 minutes. This helps recrisp the crust much better than a microwave, which tends to make the pastry soggy.
Make-ahead
You can prepare the filling a day in advance and store it in the refrigerator. This allows the flavors of the spices and sugars to meld together, resulting in an even more flavorful pie.
The entire pie can be assembled and frozen before baking if you want to get ahead on holiday prep. Flash freeze them in the muffin tin, then transfer the frozen unbaked pies to a freezer bag.
When you are ready to bake frozen pies, simply place them back into a greased muffin tin. You will likely need to add an extra 5 to 10 minutes to the baking time to ensure the filling cooks through.
Common mistakes when making Mini Apple Pies
- Dicing the apples too large is a frequent error that results in undercooked, crunchy fruit because the bake time is short.
- Overfilling the muffin cups can cause the sugary juices to bubble over and burn onto the pan, making the pies impossible to remove.
- Forgetting to grease the muffin tin thoroughly often leads to the bottom crust tearing when you try to lift the pies out.
- Cutting the bottom dough circles too small will prevent the crust from reaching up the sides, causing the filling to leak out.
- Skipping the resting time after baking is a mistake that causes the hot pies to crumble and fall apart in your hands.
Final notes
Making these mini apple pies is one of the most rewarding baking projects because it yields such impressive results with minimal effort. The scent of baking apples and cinnamon that fills your home is better than any candle you could buy.
Don’t be afraid to get creative with the crust designs, as these little details make the pies feel personal and special. Whether you choose a lattice top or a simple vented circle, the rustic charm is part of the appeal.
I hope this recipe brings a little bit of warmth and joy to your kitchen this season. It truly is the perfect way to enjoy a classic American dessert without the commitment of a full-sized pie.
Loved this Mini Apple Pies? Try these next
- Cinnamon rock candy recipe
- Ruths chris creamed spinach recipe
- Chinese coconut shrimp recipe
- Christmas lasagna dessert
- Rotisserie chicken tacos

Mini Apple Pies
These adorable mini apple pies pack all the comfort of a classic deep-dish pie into a delightful, hand-held treat. Featuring a flaky, golden butter crust filled with tender, cinnamon-spiced apples, they are baked to perfection in a muffin tin. Ideal for holiday dessert tables, parties, or a cozy fall afternoon snack, these individual portions are easier to serve than a whole pie and just as delicious.
- Total Time: 45 minutes
- Yield: 12 pies 1x
Ingredients
- 2 packages refrigerated rolled pie crusts (or homemade double crust dough)
- 3 cups Granny Smith apples, peeled, cored, and finely diced
- 1/3 cup granulated white sugar
- 2 tablespoons light brown sugar, packed
- 1 teaspoon ground cinnamon
- 1/4 teaspoon ground nutmeg
- 1 tablespoon fresh lemon juice
- 1 tablespoon all-purpose flour
- 1 tablespoon unsalted butter, cut into very small cubes
- 1 large egg (for egg wash)
- 1 tablespoon water
- Coarse sugar for sprinkling (optional)
Instructions
- Preheat your oven to 400°F (200°C) and lightly grease a standard 12-cup muffin tin with non-stick spray or butter.
- Roll out the pie crusts on a lightly floured surface. Using a 4-inch round cutter (or a large wide-mouth glass), cut out 12 circles. You may need to re-roll the scraps to get all 12.
- Gently press each dough circle into the muffin cups to form the bottom crust, ensuring the dough reaches up the sides without tearing.
- In a medium mixing bowl, combine the finely diced apples, granulated sugar, brown sugar, cinnamon, nutmeg, lemon juice, and flour. Toss until the apples are evenly coated.
- Spoon the apple filling generously into each crust-lined muffin cup. Pile them slightly high as the apples will shrink during baking. Top each pie with a tiny cube of butter.
- Use the remaining pie crust dough to create tops. You can cut smaller circles with slits for venting, or cut thin strips to weave a mini lattice top. Press the edges gently to seal the top to the bottom crust.
- Whisk the egg and water together in a small bowl. lightly brush the tops of the pies with the egg wash and sprinkle with coarse sugar for extra crunch.
- Bake for 20-25 minutes, or until the crust is golden brown and the apple filling is bubbling. If the edges brown too quickly, cover loosely with foil.
- Allow the pies to cool in the pan for at least 10-15 minutes to set before carefully removing them to a wire rack to cool completely.
Notes
Dice the apples smaller than you would for a standard pie to ensure they cook through completely in the shorter baking time. Serve warm with a scoop of vanilla bean ice cream or a drizzle of caramel sauce. Store leftovers in an airtight container at room temperature for up to 2 days.
Nutrition
- Serving Size: 1 pie
- Calories: 280
- Sugar: 16g
- Sodium: 190mg
- Fat: 14g
- Saturated Fat: 6g
- Unsaturated Fat: 7g
- Trans Fat: 0g
- Carbohydrates: 36g
- Fiber: 2g
- Protein: 3g
- Cholesterol: 15mg